The physical benefits of letting a child loose on a climbing wall are substantial. Climbing, a low-impact exercise, helps them build strength from head to toe, including in the abdominals and back. Strength, endurance, agility, flexibility, and balance are all enhanced as they move from hold to hold. And what parent wouldn't rather watch their child outside, moving around and having a good time than indoors, gazing at a screen?
The benefits of rock climbing for kids extend beyond the sport itself. Young people who participate in rock climbing may develop higher levels of self-worth, self-efficacy, and confidence, according to a 2017 study published in the American Journal of Lifestyle. Climbing has been studied for its therapeutic potential and shown to have "good impacts on anxiety, ADHS, depression, cognition, self-esteem, and in the social domain," according to a 2015 study done at the University of Erlangen-Nuremberg.
Mike O'Connor, leader of the young climbers' squad at Santa Barbara Rock Gym, has seen evidence of this firsthand. "We have a kid who came to us with certain health concerns and, as a result, was incredibly bashful," says O'Connor. "He has since blossomed into a self-assured adolescent whom experienced climbers regularly consult for advice. Playing this sport has given him a lot more self-assurance, in my opinion."
O'Connor elaborates, saying, "There's just an emotional side to climbing that really benefits kids," noting that there is a strong mental component to every climb, from visualising the moves before you leave the ground to getting your body to move in a certain way and figuring out sequences that aren't obvious to overcoming a fear of heights, if you have one.
Seeing their accomplishments displayed on the wall can do wonders for a child's self-esteem. "Climbing is fantastic in helping students gain confidence that they can apply outside the gym," adds O'Connor, "especially through middle and high school, where kids are going through puberty and all sorts of crazy stuff and figuring out who they are."
In order to satisfy their natural urge to be physically active, children require large-scale physical activity. Children need these kinds of gross motor activities to build muscle, release excess energy, and boost their self-esteem.
As an aerobic activity, climbing works every muscle in your body. Kids may strengthen their entire bodies by using these climbing structures, from their fingertips (they'll need strong grip strength to hold on!) to the tips of their toes. Climbing is beneficial for more than just your muscles. Climbing is a cerebral endeavour that calls for suppleness, coordination, balance, and the ability to think on one's feet.
It's no surprise that climbing to new heights gives children a sense of accomplishment and pride.
We hope to instil these qualities in our children. Having a nice time is also great for youngsters. The answer is yes, we want it.
The many positive aspects of climbing can be made available in a risk-free setting by creating an indoor climbing area in your own house. What a fantastic place this would be for youngsters to have some indoor fun on a dreary day. Due to the recent chilly weather, my children have lost interest in playing outside. Instead, they are letting off steam by literally scaling the walls inside. Why not give them the freedom to literally scale the walls?
One of the best things about climbing is that age makes no difference. Twenty years ago, when I first started climbing, I built a small climbing wall in my basement.
Children love to scale retaining walls. Rather than making them climb an illegal structure, why not provide them one they can safely ascend? Your kids will be jumping for glee once they see your finished DIY climbing wall. I'm very sorry, but that was awful.
To preempt any questions, let me say that we are avid outdoor enthusiasts. The Pacific Northwest is a breathtakingly beautiful region to call home. On rare occasions, however, we do venture indoors. We want to think that we are just making memories together as a family, but it's possible that having a mum and dad who enjoy building can lead to pampered kids. Who doesn't enjoy a good climbing wall, anyway?
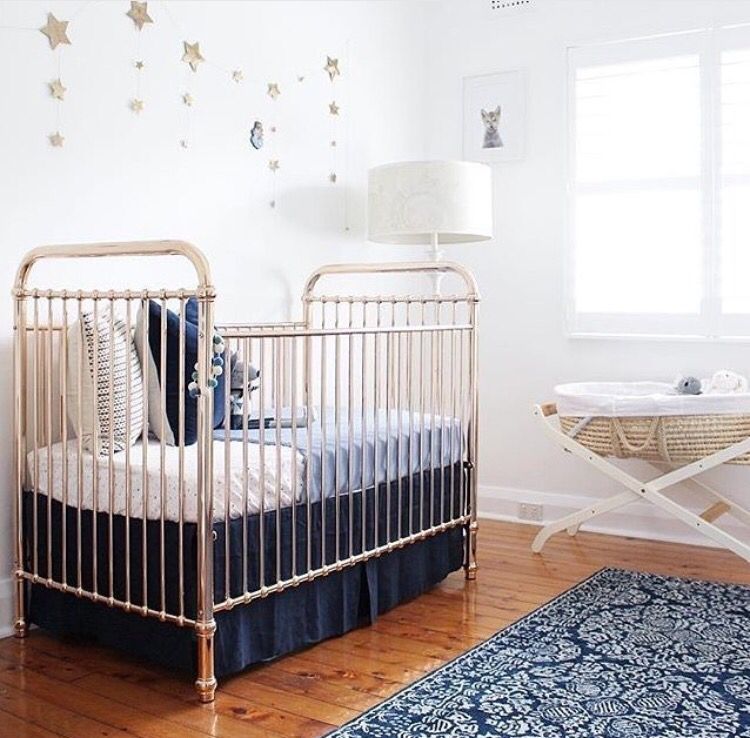
A changing table for the nursery You seem to be under a lot of pressure right now. My Baby Nursery has everything you need, including a wide selection of high-quality baby change tables.
FAQs About Baby Nursery
Strap babies and toddlers into their highchair every time you use it. Keep a hand free to hold on when carrying babies or children up and down stairs. Take care not to put furniture in front of windows so there is nothing for children to climb onto. Don't leave a baby alone on a raised surface, even for a minute.
Avoid burns by not holding your baby while cooking or holding hot food or beverages. Never leave baby unattended on beds, sofas, chairs, or any place where he or she may fall. Install baby gates at the top and bottom of stairways. Never leave baby alone with other young children or with pets.
Arrange the room into areas that support different kinds of exploration. You can organize spaces for infants and toddlers that support a variety of exploration and routines. For health and safety reasons, it is important that areas for eating, food preparation, sleeping, and diapering are separate from play areas.
Clean air, stable climate, adequate water, sanitation and hygiene, safe use of chemicals, protection from radiation, healthy and safe workplaces, sound agricultural practices, health-supportive cities and built environments, and a preserved nature are all prerequisites for good health.
Nurseries provide care and education for children from as young as six weeks to pre-school five year olds, however some only cater for children over two years. Full day care is offered normally from 8am until 6pm. Parents can choose to use days and hours within these core times to suit their needs.
First, Though, How About We Chat About Security?
Without a doubt, this is the most well-liked creation here. The vast majority of feedback is positive and encouraging. However, there is a subset of society who seems to believe that sending my kids to the ER is part of my plan. Safety should always be a priority, whether you're working on a do-it-yourself project, buying a gift for your child, or doing anything else. The wall has been up for about a year as of this writing. My children, along with those of no other parents, have never fallen from the wall. There is nothing mild and submissive about my kids, I promise. If you don't want to be bothered reading all the way to the end, I'll tell you right now that there are mats at the bottom, and that those mats are set up to latch over the wall so that children can't wander off when there's no one there to keep an eye on them.
When I searched Google for "child climbing walls," I was met with images of intricate structures that seemed like they belonged in a theme park, such as dinosaur heads and moving equipment. My experience has shown me that the simplest climbing walls are the most rewarding. However, I was unsure if children would have the same affinity for simplicity, and Randy and I debated over which wall style would be best for Theo. To fill up a blank wall in our climbing shed, I planned to simply bolt some plywood to the wall. Randy was looking for a vantage point.
I believe we achieved a clever layout in the end. This movable wall is horizontal currently because Theo is still young, but we can make it vertical when he grows bigger and stronger. The components can be repurposed for the eventual permanent affixing to the main wall. Theo thinks it's awesome, and it's been helpful in healing an injured finger I have.
Draw up a Plan for the Climbing Structure.
If you're interested, I highly recommend giving Google SketchUp a try; I use it to plan the majority of my designs. In any case, a pen and paper will do the trick as well. My inspiration for the wall's design comes from a few photos I scrounged up on Google, and I'd give credit where credit is due. The original thinker(s) of "doing the wall in pieces" should be commended for their ingenuity. It's not only aesthetically pleasing, but also functionally ideal for this sort of space and for avoiding obstructions like plugs and switches.
One of my favourite features of SketchUp is how easy it is to calculate dimensions. I know I make it seem like I have something to gain by praising this programme, but there really isn't. Simply put, I don't want to hoard cool free stuff, therefore I'm going to share this with you.
We opted to build the wall with hardwood plywood of a higher quality, but you could save money by using a less refined material. Taking the measurements as my guide, I carefully sketched out the entire puzzle on the hardwood. The upside is that it doesn't have to be flawless because you're not constructing a ship. To ensure that my lines were straight, I employed a four-foot level. To save time and effort when hanging the finished product on the wall, label each component as you go.
Materials:
1 sheet measuring 4' x 8', 3/4 "plywood with only the face veneered
5 - 8' 2 x 4s (plus additional as needed to attach the wall to your support structure) (plus additional as needed to attach the wall to your support structure)
2 "a set of decking screws for securing Plywood
3 "construction screws for decking the frame
128 - 3/8 "T-nuts
Create a standard wall frame with the 2 x 4s (studs on 16" centres, top and bottom plate) and 3" screws. The next step is to screw the plywood to the frame at regular intervals of roughly 6 inches along each stud and the perimeter of the frame, using 2 inch screws.
Block out over the framework boards and drill 1/2" holes for T-nuts at 6" intervals. The T-nuts should be driven in from behind while maintaining a straight alignment.
Build the Climbing Structure by Cutting and Putting Together the Various Parts.
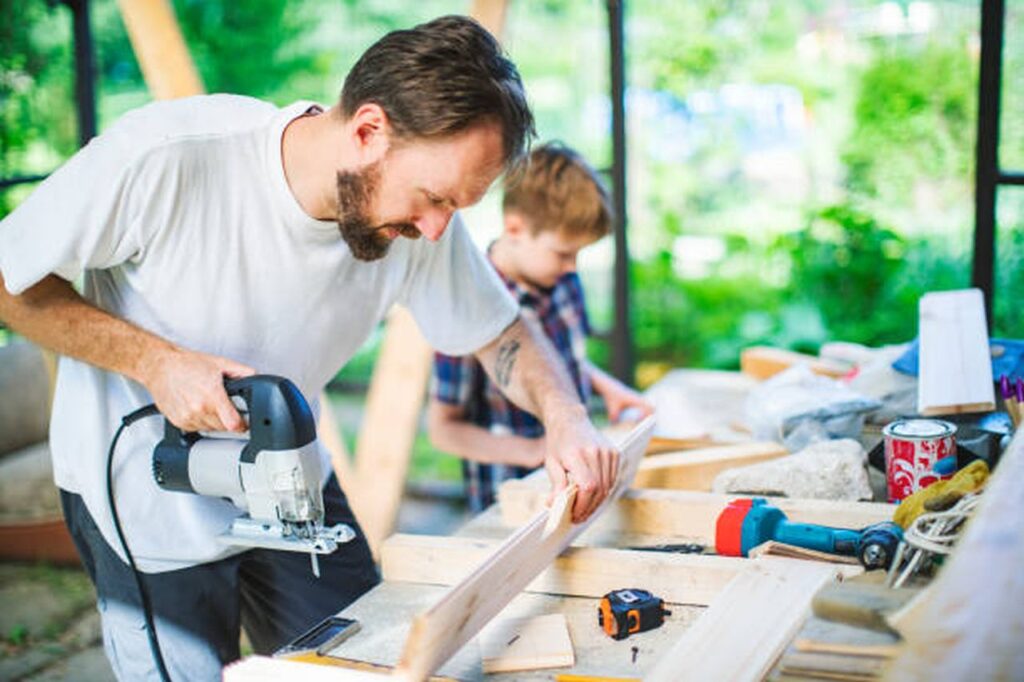
Even though we used a table saw, we had to cut freehand because the pieces weren't square. I was delighted to delegate this task to my spouse because of his mastery in freehand cutting. The temperature was probably around 90 degrees, so working outside was not exactly ideal.
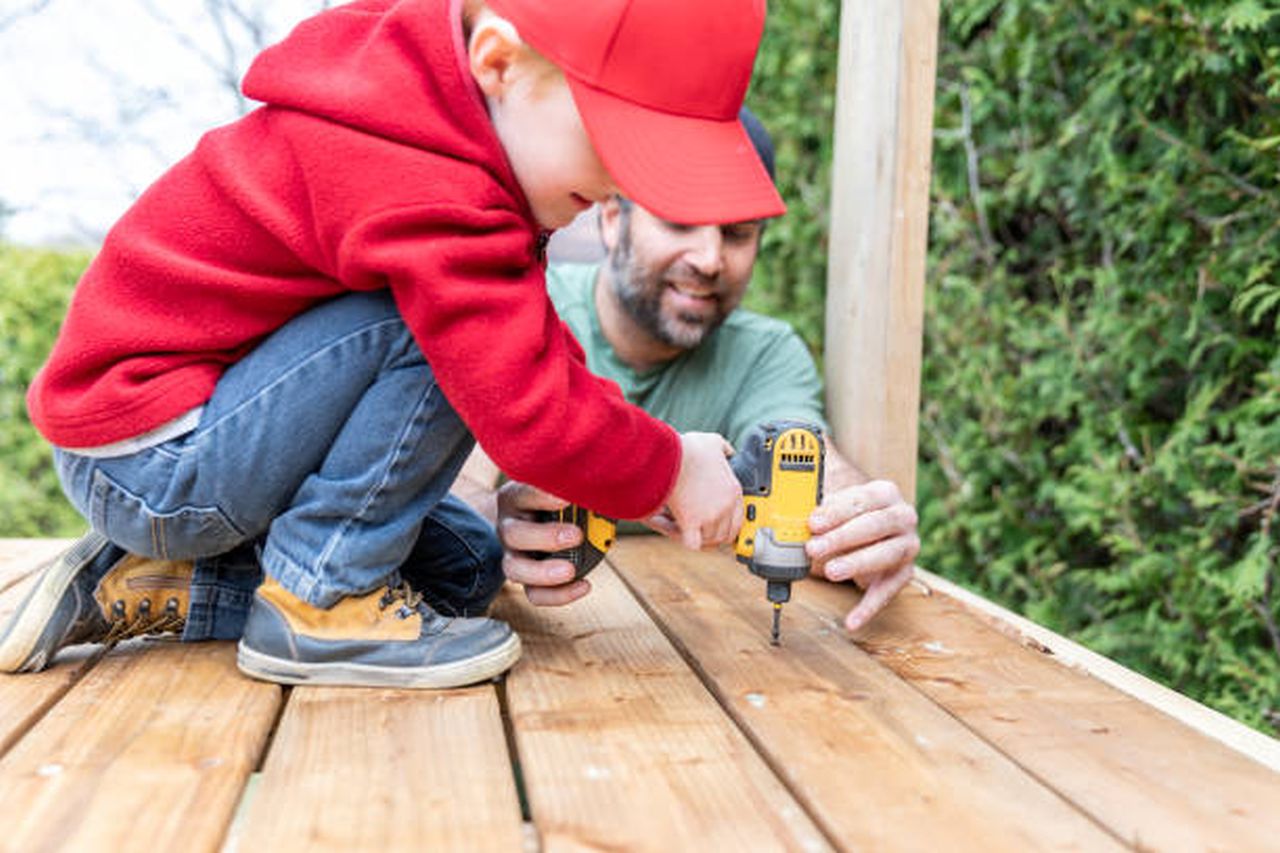
First, locate the studs that the climbing wall panels will be fastened to with a marking pen. I made faint pencil lines down the entire wall's length to be sure I wouldn't miss the stud. Then use two or three screws to fasten each component to the wall. You may do this on your own, but I think two people would make the process go more smoothly. I did this while my spouse was at work. Pre-drilling is a must if you don't want the wood to split. I like to use the drill for the pilot hole and the impact driver for the actual screw installation. Even my youngest children have been taught to distinguish between the two and bring me the correct one, along with a screw, whenever I ask. I plan to outsource the task as soon as I can get them to a level where they can handle it independently.
Putting on the Handrails
Plywood is nominally 3/4 inches thick but measures out to be just a hair under (.70, whatever that is). Instead of using the included 1 1/2-inch lag screws, we went out and bought 1 1/4-inch lag screws. That way they wouldn't have to make holes in the wall itself, which would have left ugly scars. Furring strips might also be used, albeit they would need more effort to instal.
To be honest, I got the handholds for my husband for Christmas last year because he loves to climb and wanted to introduce the sport to our kids. Now it was his turn to take charge and secure the grips. Given that I have thus far contributed precisely zero value, I will now turn the floor over to my him for a few illuminating remarks:
When deciding how far apart to put the climbing bars, consider the height of the children who will be using them. There should be more holds for toddlers than for older youngsters. If the wall isn't difficult to scale, kids won't have as much fun. You may make a template out of painter's tape. To begin the first row, move the mat's intended location back 8 inches. Suggested Holding Space: 12 to 14 Inches (measured dead centre per hold). Stick tape every 8 to 10 inches up the wall. Make minor adjustments and occasional additions to the centre of the route to give them additional options as they ascend.
Once you've finished taping, round up the youngsters for a little layout testing. Pretend the first holds are supporting their weight and hold them there. Will they be able to grasp the railings? Providing they are able to, the distances are appropriate. Modify the tape if necessary.
At this point, you can go ahead and start installing the grips with the drill, if you're OK with their placement.
Now that you've constructed your wall, you'll need to figure out how to secure it to your chosen support structure, be it an outside wall, a basement wall, a shed wall, or an already-existing climbing wall. There are an unlimited number of permutations, so I can't provide you specific instructions on how to mount your wall. Nonetheless, you need to ensure that it is secure and reliable. If you are unsure, it is best to speak with a professional contractor.
Our wall was hinged at the top, with the base leant out to form a slab, and was supported to stay in place. We can adjust the angle by sliding in the bottom and reattaching the bracing as Theo becomes taller.
Is There a Way to Make a Climbing Wall Safe for Kids?
In about 5.3 seconds, our kids figured out how to use the wall and were climbing it like monkeys. That can be a worry if we aren't physically present, so we designed a means to lock the wall if you want to make sure it's only utilised under supervision.
Now you have it. In order to get a shook through the seam on the mats, I bored a hole in the plastic's outer layer there. I screwed eyes into both sides of the wall and looped the mats' s-hooks over them.
My three-year-old tried it out and was disappointed that he couldn't climb up the mat's side. Success, to put it another way. As a rule, we don't like to overcomplicate things here, so the answer is as straightforward as it sounds.
Since you've made it this far, I'll show you a sneak peek at the wall in the context of the rest of the playroom.
Check out our extensive range of baby nursery change tables.
Equipment Essentials for Outdoor Climbing Structures
Helmet
We recommend getting a climbing helmet for your youngster if the playground equipment is high. If your kid has an adventurous spirit, he or she should wear a high-quality helmet.
Shoes
Climbing on traditional grips, which are textured for grip, will irritate bare or sock-clad feet after only a few minutes. Shoes that match the size of the footholds are a must. Tennis shoes will work if the foot is a bit bigger. Technical climbing shoes are required for use on smaller holds.
Surfaces That Are Safer for Your Child's Head
Sand
Sand is a popular choice among playgrounds and parents for preventing injuries from tumbles. If you go this route, don't forget to pick up some sand for the kids to play in. A few precautions about sand depth, upkeep, and moisture distribution are also required.
Flooring for the Playground
In this case, we have the rubber squares that are ubiquitous on kindergarten play areas. These squares are as nice as the recycled rubber they are made from. However, many common options are too thin to actually be effective in protecting you. Finally, contrasting the various recycled rubber varieties is essential.
The Use of Rubber Mulch
The best is saved until last! Since it is resistant to shock, rubber mulch is the best material for use as a fall cushion. This protection only needs to be 3 inches tall to prevent injuries from a fall of 7 feet, making it ideal for protecting children. Did I not remark upon how well it resisted the elements and required so little upkeep?
As a result of our own investigation, we know that Jelly Bean produces the highest quality rubber mulch for home playgrounds. So, why do you want to know? It is constructed without the use of any potentially hazardous materials, such as latex, wires, or tyres, guaranteeing the wearer's safety. What's more, tests on Jelly Bean Rubber Mulch's ability to absorb the force of a head impact have shown it to be superior to anything else on the market. Because of this, they were recognised as the industry's safest playground rubber mulch by the Americans with Disabilities Act (ADA). Last but not least, the vulcanisation procedure guarantees the product will last for many years to come.
Homemade Rock Walls and Climbing Areas
Climbing holds can be easily attached to a wall next to a person's bed, creating a convenient and safe indoor climbing area. Alternatively, you may build an elaborate indoor climbing apparatus. Consider the ages and levels of exercise of your children. Larger children require more room, but it's possible to make use of otherwise wasted vertical space, such as in the ceiling.
View the following examples to get your creative juices going on the best approach to implement an indoor climbing area in your home:
(Quick reminder: These are brilliant concepts, but if you want to build your own indoor climbing structures at home, be sure to read and follow all relevant safety standards and instructions beforehand.)
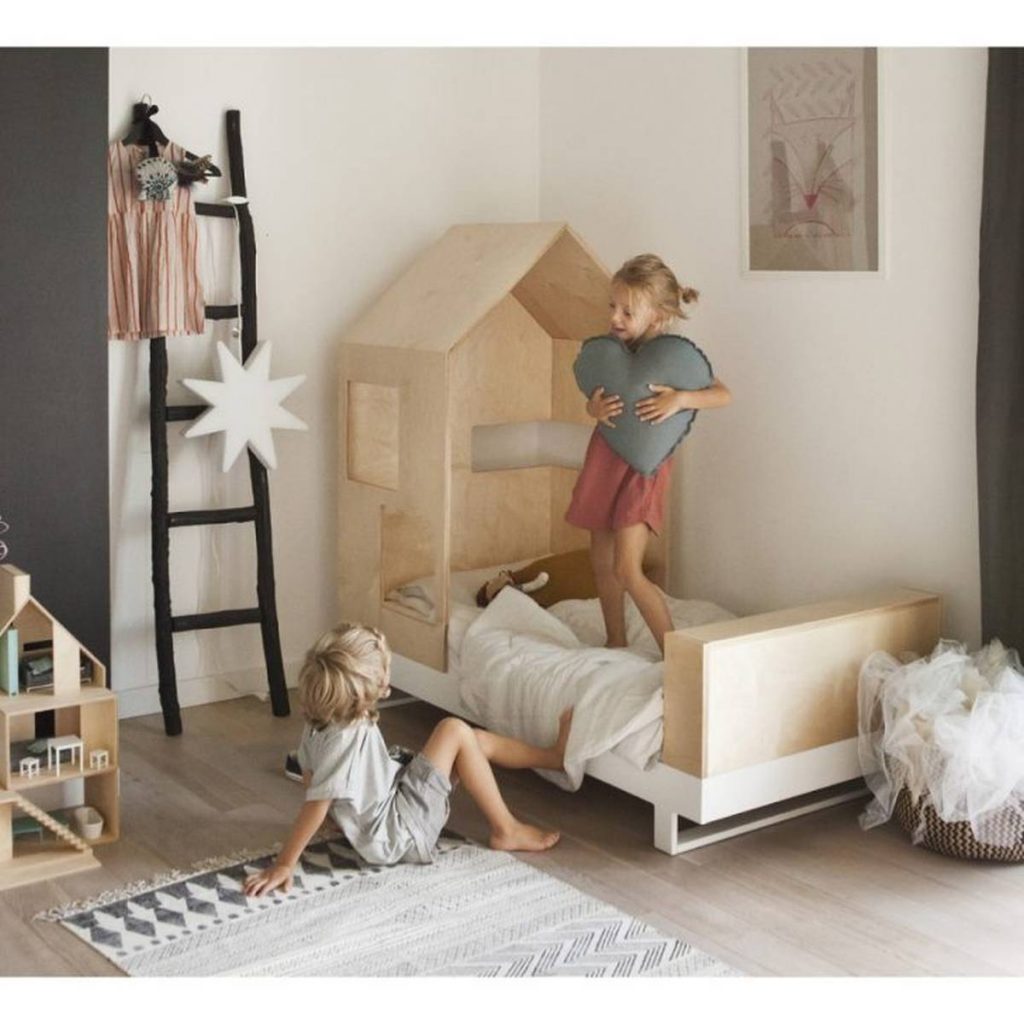
DIY Wall Over Bed for Climbing
Put some brightly coloured climbing grips over your child's bed to encourage active play. The effect is amplified by high ceilings in the bedroom or by a low bed. When jumping or falling down the climbing wall, you can land safely on the mattress below. Originating in the TRIPLEX.
Room to Reach the Wings
From the Fine Home Building, the family fashioned a gas pipe climbing course, complete with a ladder, monkey bars, and a climbing rope.
Space to Climb in the Woodsy Comfort of Your Bedroom
Simply Designing gives you an in-depth look at how they put together this incredible kid's room. All eyes will be on the climbing wall leading to the lofted bed. Furthermore, a metal fireman's pole makes descending even more exciting.
Space to Climb in the Woodsy Comfort of Your Bedroom
More Like Home shows how they installed a climbing wall and monkey bars in a child's bedroom to create a fun climbing area with a forest theme.
Construct Your Own Climbing Wall and Monkey Bar Roof
This room is perfect for older children because it has everything a young climber may need. The ceiling-mounted monkey bars are the true show-stopper (and can be used to hang an indoor hammock) but the climbing holds span from wall to wall. The material of the monkey bars is mysterious to me. They resemble playground safety grips, but you'll want to be sure you're using something that's designed to hold up a person's weight while they swing. Taken from Imgur
Live Tree Climbing Walls
Admittedly, this one isn't really a DIY effort, but I felt compelled to include it nonetheless. Tree climbing is a classic pastime, but I bet many kids in urban areas never get the chance to do it. If you have the means, it is worth learning how to undertake a job like this so that you can use trees for your do-it-yourself climbing spaces for kids' indoor play. The post on Trend Hunter that these photographs originated from, however, lacked any sort of descriptive text for the trees.
Indoor “Buskas” Climbing Tree
Consider this alternative to the preceding plan if it seems too ambitious. This indoor climbing tree requires a skill saw to cut the shapes, some wood, and sturdy hardware to bolt the sections to the wall, but no specific instructions are provided for its construction. link to original content and source
Handmade Climbing Frame
During the colder months, an Instagram user, Nutritious Movement, showed her followers how her family stays active indoors. Climbing and swinging from below, or climbing up and across to play and play, is what makes the setup of these do-it-yourself climbing facilities for kids so great. It appears that there are currently no plans to construct this, despite the many calls for its creation from commenters. I believe a handyman or carpenter with enough experience would be able to figure it out, though.
Climbing, however, has benefits for people of all ages, not just those who are getting to the climbing years. Climbing requires planning and decision-making, even for young children, as they determine the best order in which to complete the various moves that make up the ascent. Plus, even the youngest toddlers can benefit from the pleasure and beneficial mental challenges provided by climbing. "A route is like a puzzle, but there are more than one method to solve it," explains Laurie Normandeau, Kids' Program Supervisor at the Boulder Rock Club. "In this case, there is no absolute right or wrong. The key is to figure out what actually works."
According to Normandeau, young children are more interested in traversing the climbing structure than in reaching the summit. "Climbing gives children a fantastic opportunity to build coordination, strength, and balance," she explains, "whether they get to the summit or not."
Climbers of all ages have their own unique set of strengths, weaknesses, and favourite types of climbs, and while Normandeau claims that younger kids benefit most from play-based climbing while older youngsters prefer to focus on technique. She notes that although some youngsters would use brute force to get over a difficult stretch of a climb, others will focus on their footwork. She also explains that kids of all ages can benefit from the mental and physical difficulties that climbing presents, whether they prefer to climb indoors or outdoors.
O'Connor and Normandeau agree that the social side of climbing, particularly among young climbing teams, is a fantastic reason to get kids involved in the sport. "Many youngsters aren't over the moon about participating in conventional team sports," O'Connor says. Without the stress of competitive team sports, "kids on a youth climbing team are able to encourage each other and experience camaraderie and community building."
""Even though there is teamwork, leadership, and trust developing among youngsters climbing together," continues Normandeau, "once you're on the wall it's just you and the wall. There's more than one path to success from the bottom up. In this world, there is no such thing as bad or right; everyone triumphs." She also notes that the trust between climber and belayer is especially beneficial for teen groups, as it fosters strong bonds and teaches the value of open communication.
Learning the proper etiquette for sharing the climbing gym or wall with others is helpful for youngsters whether or not they are on a team. There's a requirement for polite communication and an expectation of personal space. As an example, kids learn not to pass directly under another climber. Additionally, kids figure out how to wait their turn on the bouldering wall rather than constantly swarming it.
There are countless positive aspects to letting kids loose in a rock climbing facility, whether it be a rock climbing gym, a home gym, or even just the nearby cliffs. More than meets the eye when it comes to the benefits of getting youngsters into climbing, actually. Knowing that you are not only creating a prospective new climbing partner but also a passionate climber—and person—for life, you can relax and enjoy watching your child effortlessly scramble up a route or solve a boulder problem you've been battling with.
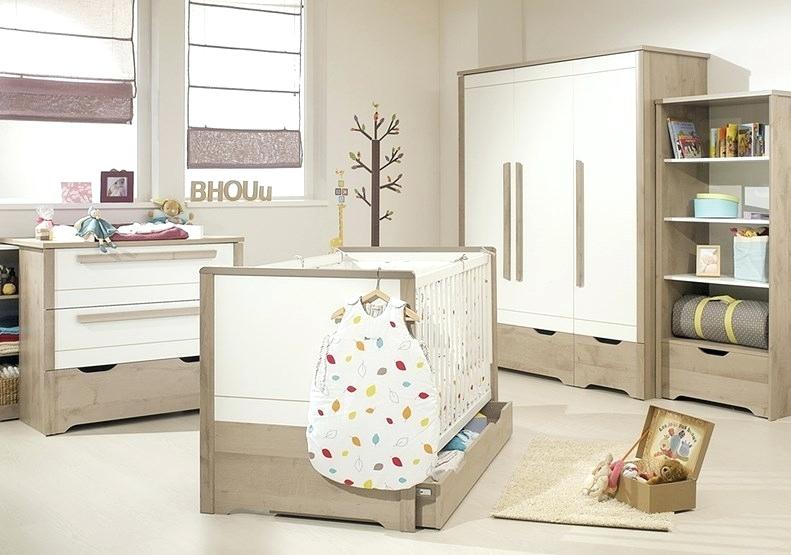
Looking for the perfect nursery portable cot? My Baby Nursery have you covered.